Posts

Review: Schick Hydro Silk TrimStyle

Image
  I was chosen by BzzAgent to try the NEW Schick Hydro Silk TrimSyle. Here are my results. PROS: *Very silky smooth shave from the razor.  It is the same quality as the original Hydro Silk (Which I am a fan of) *Waterproof Trimmer *Trimmer has 3 Settings *Trimmer works GREAT!  Better than other trimmers I have tried in the past. *It's a Duo, two tools in one! CONS: *No guard on the razor.  I stand by my opinion that there should really be a removable guard. I was nervous about some how cutting myself with the razor end while using the trimmer. *The razor seems bulky while using it. In the end, I would buy this product.
Felty Fun!

Image
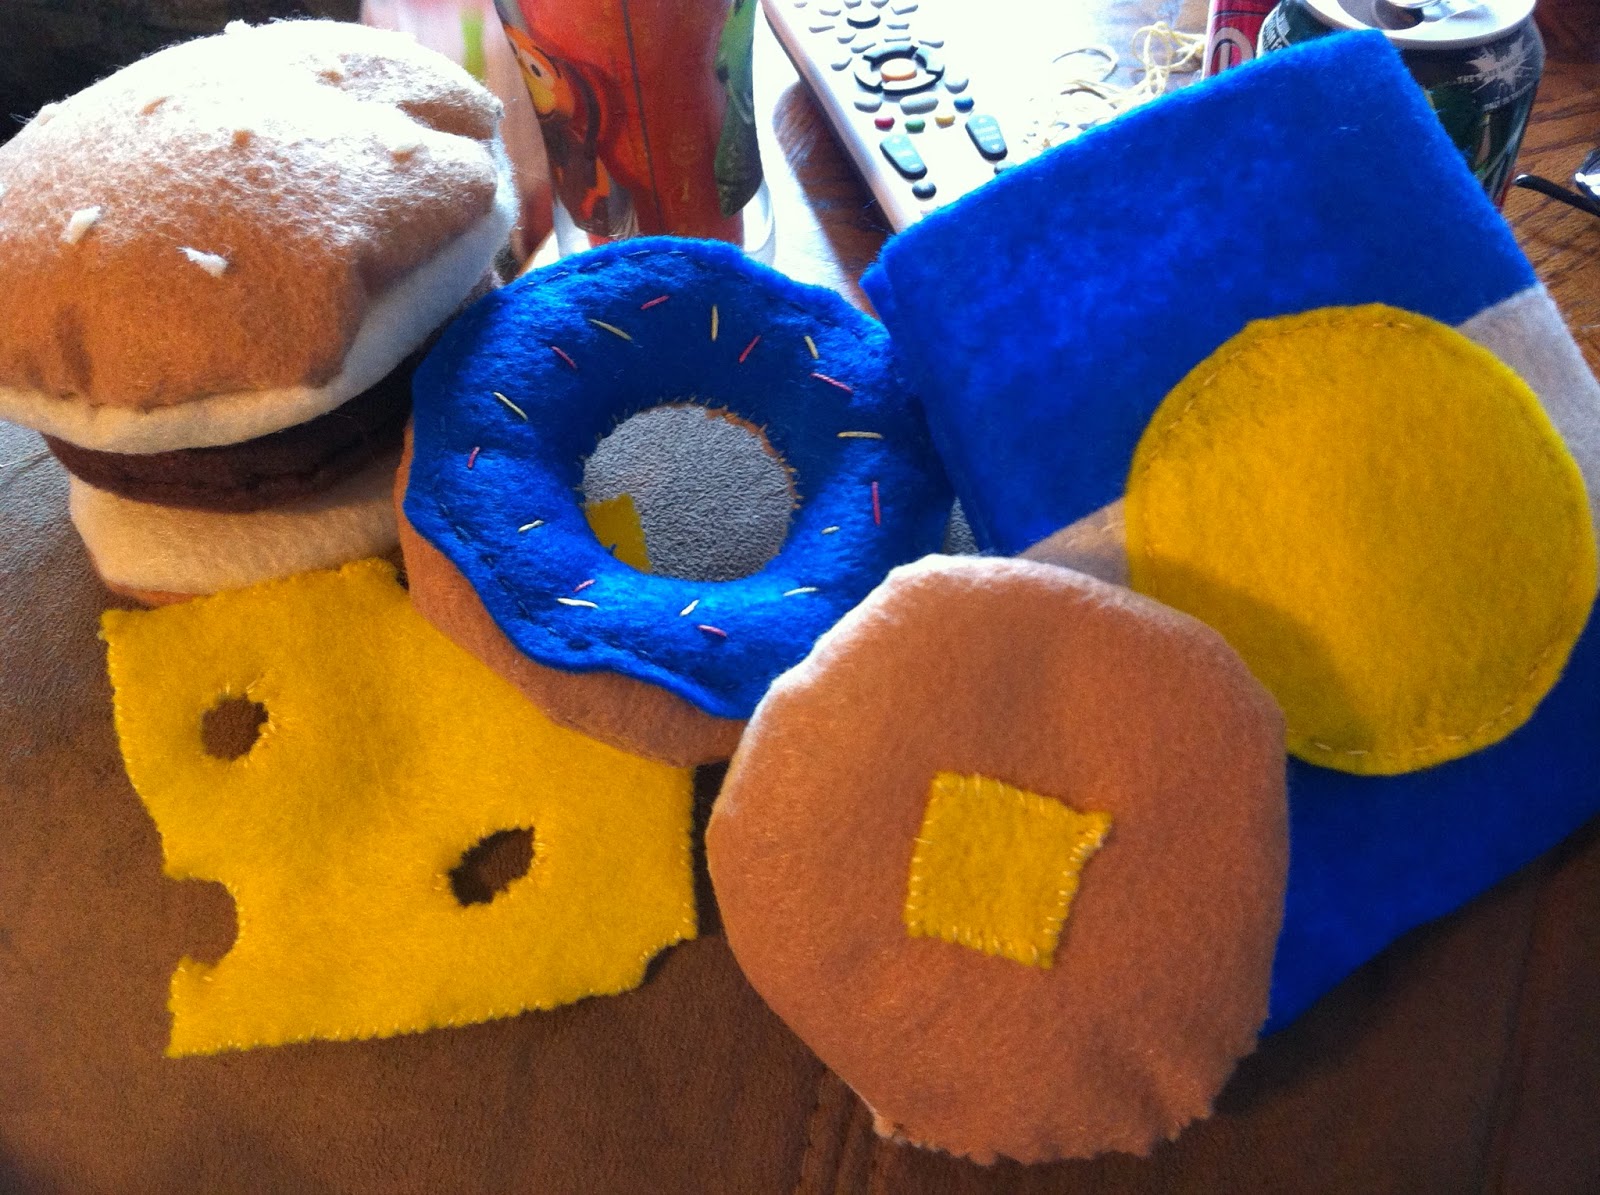
  FELTY FUN!       I made everything in this picture for my daughters 1st birthday.  They survived roughly a year between a toddler and a chewing puppy. They were SUPER cheap and easy to make!   NOTE: I did NOT make any of these templates.   http://www.pinterest.com/misteh/felt-fun/   Above is a link that I compiled of all of the neat ideas and templates that I have run across that involve felt.  Some of them are free to print off and download as long as you are not selling the items you make.  Others are ones that have to be purchased off of Etsy, but shouldn't be too hard to make your own pattern.  I may even make a pattern to share later, when I have free time again :).             I apologize!  I haven't posted anything in quite a while! I have made several things in the past few months. Unfortunately I either forgot to document them or I ha...

Frosted Mason Jars

Image
FROSTED MASON JARS   WHAT YOU WILL NEED:   CONTACT PAPER FROSTED SPRAY PAINT MASON JARS PEN IMAGE TO TRANSFER SCISSORS TEA LIGHT (REAL OR BATTERY)      Select an image to trace on to the contact paper, print it out.  You could also free hand on a design in you wish.  Cut out the design using scissors of a razor blade (be careful).  Peel off backing of the contact paper and position the contact paper were you would like it on the mason jar.  Make sure all of the edges are well stuck to the jar. In a WELL VENTILATED area (such as outdoors) spray a coat of frosted spray paint on to the jar.  Spray over the contact paper.   Let Dry.  Add a second coat if needed and let dry.   Carefully peel off the contact paper. Add your filling, sand, rocks, or anything else that will go well with your décor.  Then pop in a tea light.  **NOTE: You will not be able to...

Bible Verse Ornaments

  Bible Verse Ornaments   WHAT YOU WILL NEED:   CLEAR GLASS ORNAMENT OLD BIBLE OR HYMN PAGES MODGE PODGE GLITTER (OPTIONAL) RIBBON

DIY I-SPY Bottles

Image
DIY I-SPY Bottles     WHAT YOU WILL NEED:   CLEAN EMPTY PLASTIC BOTTLE FUNNEL DYED OR PLAIN WHITE RICE STRONG GLUE SMALL OBJECTS INDEX CARD RUBBER BAND     The first step will be dying your rice, if you chose to do so.  This is the most time consuming step.   I used a tutorial from http://www.mamamiss.com/2012/05/08/tutorial-kool-aid-dyed-rice/ . I did DOUBLE the recipe because I had to dye 20LBS of rice for this craft for a WHOLE group.   After the rice in completely dry use a funnel with a LARGE opening to pour your rice into the bottle.  You could also fashion a paper funnel if you do not have a plastic funnel handy. It WILL NOT matter what order you put the dyed rice in.  It will get all mixed together eventually.     Make sure you do NOT fill all the way to the top of the bottle.  The rice needs room in the bottle.  If using a Gatorade bottle as shown above,...

Composition Notebook Journals

Image
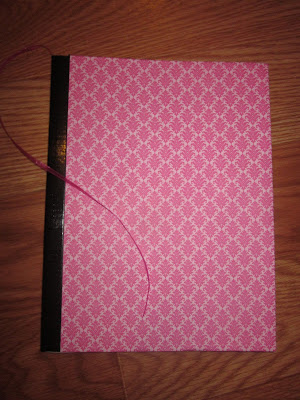
Journals   WHAT YOU WILL NEED:   COMPOSTION NOTEBOOK CRAFT PAPER (4 SHEETS OF YOUR CHOOSING) TACKY/ELMERS GLUE PAPER TOWEL OR FOAM PAINT BRUSH DUCTAPE RIBBON LARGE ENELOPE (OPTIONAL) STICKERS (OPTIONAL)   First step is to glue your front.  MAKE SURE that you use a paper towel or foam brush to smear the glue on evenly to avoid bubbling and wrinkling. Fold over the access paper to the inside.  Repeat on back cover.    For the inside, trim a piece of scrapbook paper to cover the inside writing.   Smear glue on to the Notebook and add the paper.  Repeat for the back inside.  Smearing glue onto the paper and then applying the paper tends to create wrinkles.       For an added feature you can choose to add a pocket or an envelope to your journal.  I decided that instead of digging around for a card envelope that I would just use a piece of left over scrapbook pape...

Melted Crayon Flower Art

Image
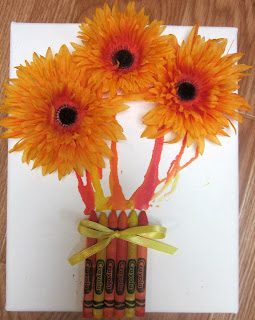
  My 1st Creation  WHAT YOU WILL NEED:   -CANVAS (I USED 8X10) -CRAYONS -RIBBON (OPTIONAL) -HOT GLUE GUN & STICKS -HEAT GUN OR HAIR DRYER -ARTIFICIAL FLOWERS Select 6 Crayons to use in your project.  You can make them match your flowers, like I did.  Or you can choose whatever your heart desires. Find you need to find the center of your canvas.  Put a small mark with one of the crayons in the middle of the canvas.  This will help you keep the crayon flower pot centered on the canvas. Use the hot glue gun to glue the flowers to the canvas, name brand side up.  Start with the middle two crayons and work your way out on both sides.  Let the hot glue cool down for a few minutes. Next turn on your heat gun or hair dryer and begin to melt the crayons.  From personal experience using Crayola crayons you should aim the gun/dryer at a downward angle after the 'C' in Crayola.  Any higher will caus...